Share
Pin
Tweet
Send
Share
Send
We will need the following for the master class:
• Dark brown cardboard, landscape sheet;
• Men's paper for scrapbooking, sheet 30 * 30 brown in color and with different male elements;
• Brown cotton lace 20 cm wide;
• Dark brown rep ribbon its width is 6 mm;
• Figured polymer frame of dark brown color;
• The picture with the machine is rectangular and round with a clock;
• Wooden round button;
• Stamp "Congratulations", black ink;
• Acrylic block;
• Beige cutting branch;
• Twine;
• Brown beads;
• Curb hole punch;
• Satin ribbon in a beige-brown cell with a width of 15 mm;
• Lighter, pencil, scissors, double-sided tape, ruler, PVA glue, glue gun.

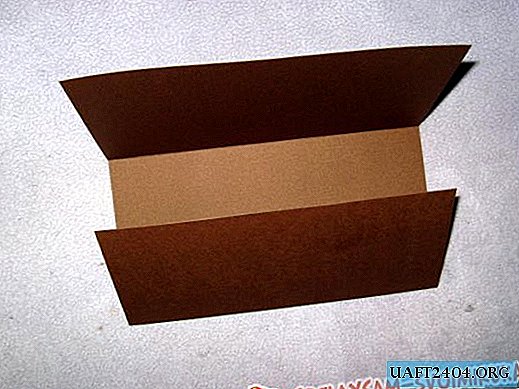
First we make the foundation. We unfold the dark brown cardboard vertically and attach a bill to it to try on. We make reserves of 0.5 cm from the top, bottom and sides, so that you can glue at the end of the side of the envelope, and the bill is freely inserted into it.


We divide into three parts of 9 cm, and the height of the envelope is 17.5 cm. We draw the bending lines with scissors.

We make the openwork edges of the inner part of the envelope with the hole punch. Also from the rest of the cardboard we cut out a strip of 3 * 17.5 cm, also its hole punch. To tie we use a checkered ribbon. Cut off segments of 12-15 cm, cauterize the edges.


Glue with double-sided tape to the base of the envelope above and below, approximately in the middle.


From the scrapbook paper, cut out three rectangles. We decorate the front rectangle. We glue pictures on it, below a brown openwork strip of cardboard.


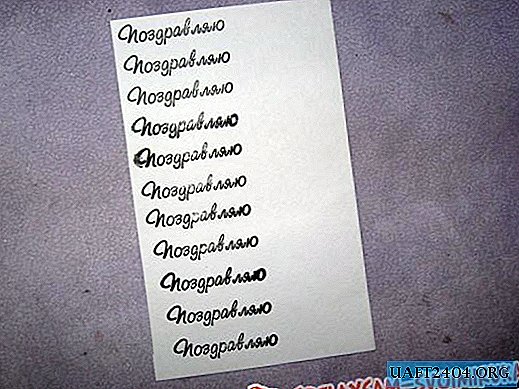
Separately, on a white dense sheet, we stamp "Congratulations", cut out one inscription, tint the edges a little and glue it on the tape below.

Cut off a strip of lace and rep ribbons.


First, we attach lace under the pictures, fix it on the back, and already glue a strip of tape on it, also gluing it on the back. Sew on a machine with lace with a ribbon, inscription and pictures.

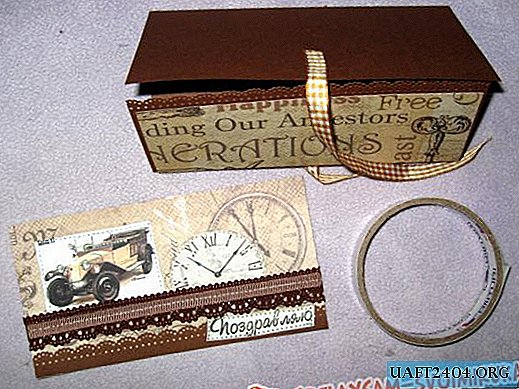
We glue the scrapbook rectangles onto the base on the tape. Separately, we sew each machine, then inside the glue with PVA glue the pocket.


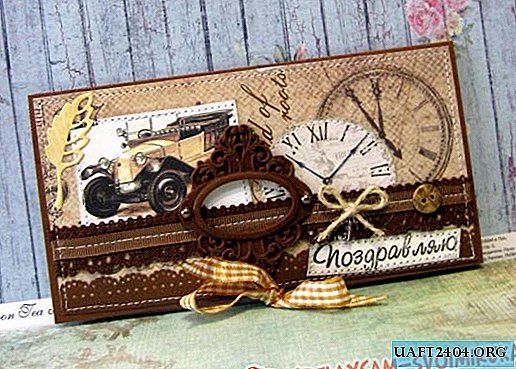
Now we decorate the envelope from the outside. In the center we glue a polymer frame, on it are half beads. We tie a twine bow, glue it next, then a button, and glue a leaf at the top left.


Done! Here came such an elegant and austere male envelope. Thanks to all!


Share
Pin
Tweet
Send
Share
Send

