Share
Pin
Tweet
Send
Share
Send
Modern comfortable living is somehow connected with heating. This is one of the most important communications, which is considered even at the stage of creating a development project. Central heating systems most often run on gas. But what if there is no gas line in the vicinity, but heat is needed? In this case, autonomous heating is your option.
There are many varieties of it, and they are very hotly discussed on the net. Usually disputes arise around the profitability of a particular scheme, because the main task of all home-made autonomous heating systems is not to bankrupt their owners. And now we will consider one of such economical assemblies.

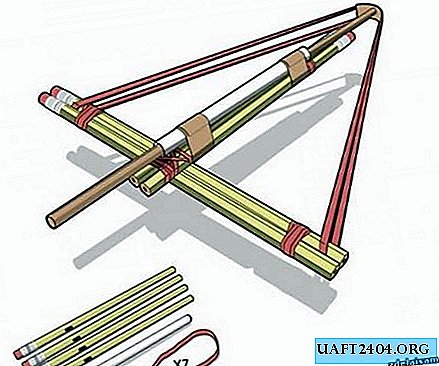
Operating principle
The battery is packaged in the usual way through four legs. An electric heater is mounted at the lower point of the beginning of the radiator instead of the locking foot. At the opposite upper point is a Mayevsky crane to release excess air pressure. As conceived by the author, the radiator is filled with gravity with distilled water. The system is controlled by two thermostats - water and air.

Materials
- Radiator;
- Three standard cases: two closed with caps, one empty;
- Mayevsky crane;
- Heating Element (TEN);
- Two temperature regulators - water and air;
- Plumbing fumlent or tow;
- Three-wire power cable for grounding with a plug.
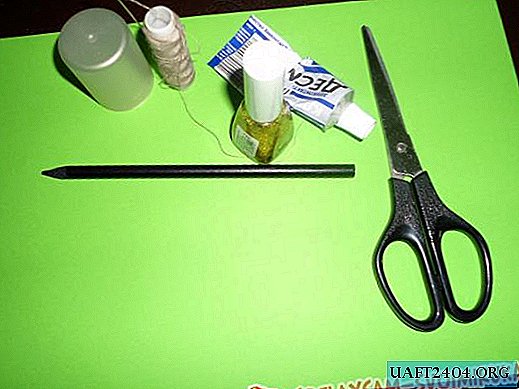
Instruments:
- Gas or other large adjustable spanner;
- Open-end wrench under the Mayevsky crane;
- Screwdriver, pliers, paint knife.
We assemble the heating system
Step one - prepare the radiator and mount the heater
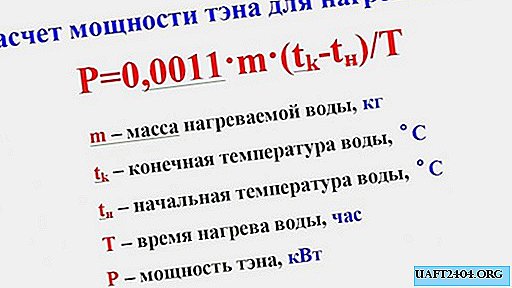
We pack the radiator legs in the usual way, winding the sealing fumlent or tow with silicone sealant, and twist through the rubber gaskets. Press them with an adjustable or gas wrench. The heater must be selected for the internal thread of the radiator. We twist it through a paronite gasket, wrapping the thread with a fumlent. In his assembly, the author used a heating heater with a power of only 0.8 kW for a 10-section cast iron radiator. The calculation can be done according to the following formula, and selected according to the table (photo).


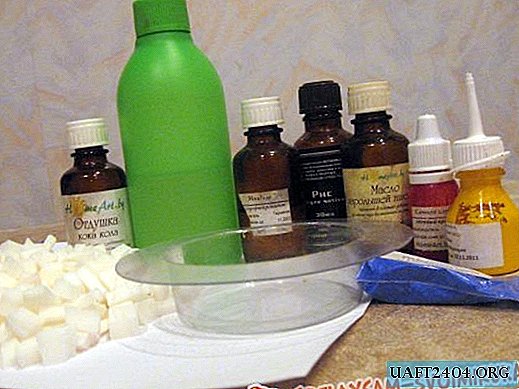
Step two - fill the battery
We prepare the heat carrier (distilled water). About 1.5 liters of liquid is contained in one section of cast-iron batteries. We expose the radiator horizontally, and pour the coolant through the watering can or by gravity hose. The final liquid level should reach the beginning of the Mayevsky tap, leaving an air gap in the battery. Filling the radiator, we twist the tap through the rubber gasket into the foot, slightly pressing it with an open-end wrench.


Step Three - Connect Thermostats
The key to rationality of such a heating system is the economical operation of a heating device (TENA). In our case, heating is carried out in two different density media - water and air. Therefore, the temperature regulator should be two. In addition, there is also a cast-iron radiator, which has its own thermal resistance, thermal conductivity and heat transfer coefficients.
A water temperature regulator is responsible for limiting the heating of the coolant inside the radiator. Usually it goes as a regular addition to the heater, and is a device in the form of a probe with a temperature sensor at the end. We insert it into the technological hole, and connect it to the heating element. Using a rheostat, we set a limit on the temperature of the water inside the battery.


The air temperature in the room is regulated by an air single-channel temperature regulator. It can be placed nearby. Most of them are compact, intuitive to use and are attached to almost any surface, such as a wall. The principle of operation is similar to a switch, so to connect it to the system, it is enough to bring a choice of zero or phase through the breaker. One thermal sensor is also connected to the body, which can be extended as desired. The temperature controller is electronically configured, and contains only two modes of setting the temperature - on and off. The memory of such a device is volatile, consumption is not more than 3 watts.


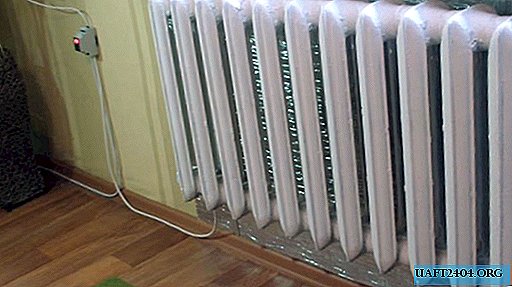
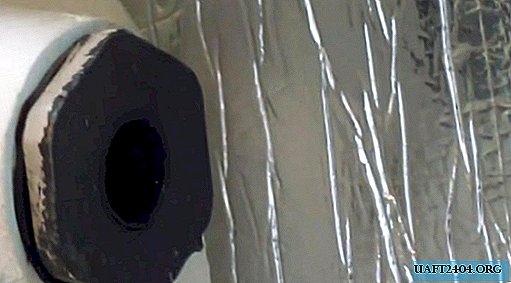
Combine thermostats in a single circuit, through which we connect the heater. We install the radiator in its place, and glue the wall under it with foil insulation. This measure will reduce heat loss on the building envelope, and will make the system even more economical.
Share
Pin
Tweet
Send
Share
Send