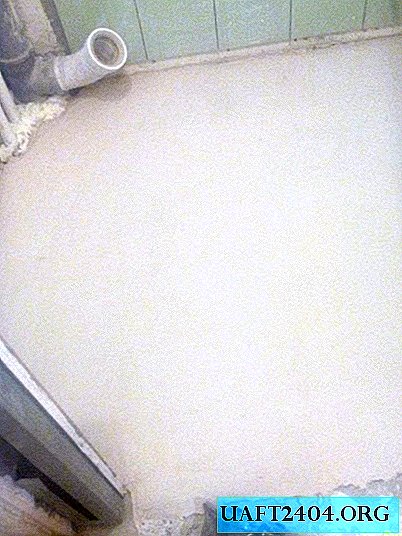
In this review, the author makes a pneumatic gun for applying plaster to the wall.

For its manufacture, a purge gun and a plastic transition 110/50 mm with a plug with a diameter of 50 mm will be required.
Also required: two barrels with a thread, a tee, the transition from ¾ to ½, sealant, plumbing paste and flax (for sealing and sealing the threads on the joints).
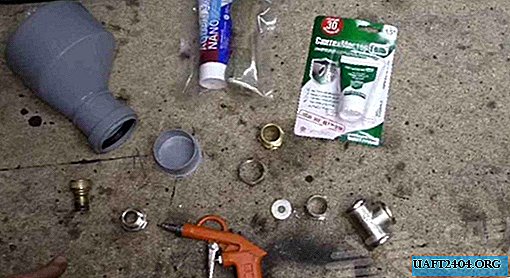
All materials for the manufacture of air guns are available and inexpensive. And most of the details you can find in the workshop or garage.
The main stages of work
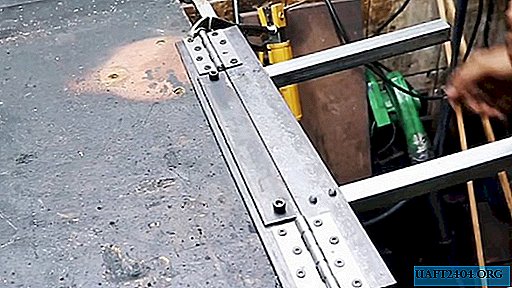
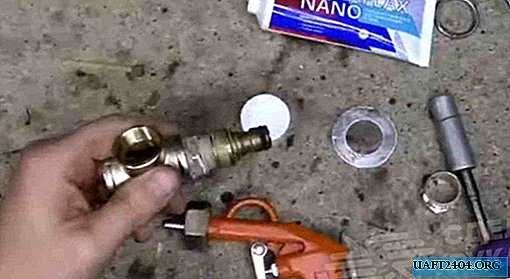
The first thing to do in the center plug is to drill a hole. We insert a barrel into it (part must be cut) with a washer, and then screw it into a tee.

Next, screw the adapter from ¾ to ½ inch into the tee, onto which we then wind the nozzle (you can do without it - for example, use a washer).
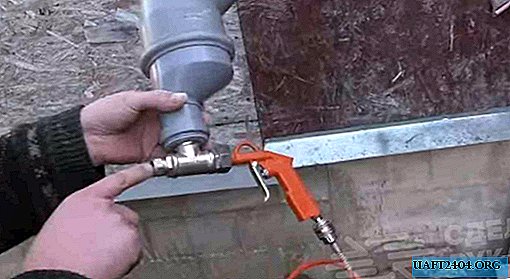
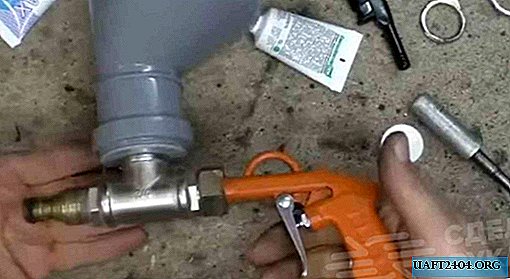
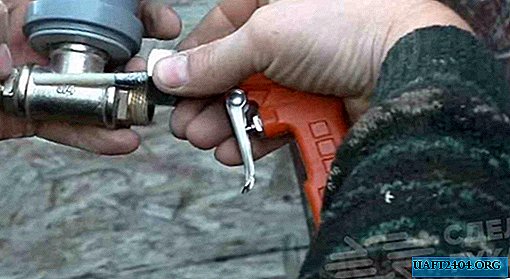
The author puts on a nut from a water meter with a washer on a purge gun. Through the adapter we connect it to the tee. Insert the plug into the plastic junction.
You will also need a piece of plastic pipe to increase the volume of the hopper for the solution, since one transition will not be enough.
Inside the tee, the author inserted a tube that fits over the nozzle of the purge gun.
For details on how to make a pneumatic gun for applying plaster on the wall, see the video on our website.