The order on the desk in the office or home office is the key to high productivity in the process of study or work. Anyway, when everything is in its place, it is just convenient and pleasant.
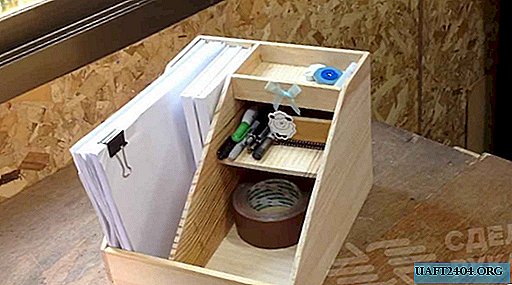
A home-made wooden stand has several internal compartments and allows you to accommodate not only stationery (pens, pencils, erasers, etc.), but also A4 paper.
For the manufacture of a table stand you can use different materials: plywood, laminate or wooden lining, which remained after the repair. And the first thing you need to do is markup and cut the necessary blanks.

The main stages of work
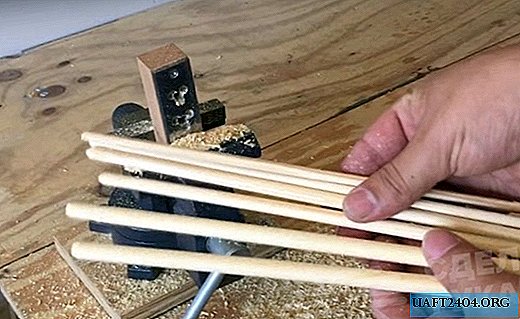
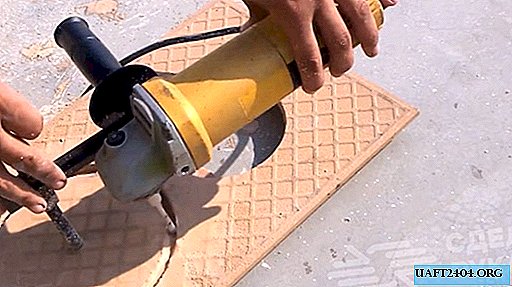
The master dismisses the boards glued from the wooden lining to workpieces on a circular saw. Then they must be sanded on the grinder or with the help of a grinder, installing a grinding wheel on it.

At the next stage of work, the master begins to assemble a wooden stand. First you need to fasten the outer sides, and then the inner shelves and the partition.

The fully assembled stand must be sanded with sandpaper, after which it can be soaked with wax or mineral oil. In this case, the author uses colorless varnish in a spray can.

Details on how to make a wooden stand for paper and stationery, you can see in the video on the site.


