Share
Pin
Tweet
Send
Share
Send
To work with her, we needed the following materials and tools:
- Three plastic or cardboard sheets;
- Self-adhesive film (like PVC film) blue;
- Scissors, nippers;
- Empty matchboxes (from 24 to 48 pcs.);
- Polymer glue and PVA glue;
- Four compact discs with a surface of gray and green shades;
- Plastic sheet with a mirror surface;
- Transparent plastic sheet;
- One DVD disc with a purple surface.
Preparing for work, we collected 24 empty matchboxes (in two rows of 12 pieces):

Next, we take one plastic sheet and one cardboard, and over the area of the square made up of 12 matchboxes tightly assembled in a row, draw and cut out such figures:

For each of the figures, the width of the sides should be equal to the width of the sides of the matchboxes. We are going to make two rows of these boxes (upper and lower).
The width of one matchbox is 1.1 cm, and two - 2.2 cm. Together. Therefore, we should make the sides of all the figures 2.2 - 2.3 cm wide (it is allowed to make the width 1 mm larger), and after that we should glue the sides from the top and bottom in this way (according to the type of match production box):

After gluing, we must let the glue dry. We should get two of these boxes:

With the help of large coils of copper, you can stick to frequently peeling areas. In this case, it will be better to glue either polymer or instant glue:

Then we take a sheet with a silver-colored mirror surface and cut out a square from it:

One of the plastic boxes we had was not the size of the craft and had to be replaced with another, larger one. We need to make sure that one of the boxes can nicely fit another smaller box inside. Without this, it will not be possible to close and open the finished box. When we made the second box larger, we did it:

We must stick the cut square with a mirror surface to the back (back) side of the resulting box. And after that, we need to open this “box” and place 12 of the 24 empty matchboxes inside it, and stick the remaining 12 to another cardboard or plastic sheet, and then place them on top of this row:

After the glue has dried, the sheet with cells from the boxes can be put in the box on top of the bottom layer:

Next, we must glue a square sheet cut out of cardboard to the plastic upper part of the box and draw the inscription "biser" on it with a pencil. If desired, you can add several other drawings or images:

Now we take the wire cutters and five CDs, which we need to cut into particles of arbitrary (different) size:

With them we need to glue the cardboard surface of the box cover. This part of the work is not quite simple: many of the CDs have the ability to crumble after cutting into component parts, from which they have to be glued. The laser discs are too hard for the scissors, and the scissors can become dull, so it will be better to use the nippers. According to the image compiled on cardboard, you need to make an appropriate picture of the particles from the CDs. The side edges of the box cover can be coated with a self-adhesive blue film like a PVC film:

After 6 days, we completed work with gluing the lid, and after that we glued its sides and the inside with a blue film:


After that, everything - our casket is ready:

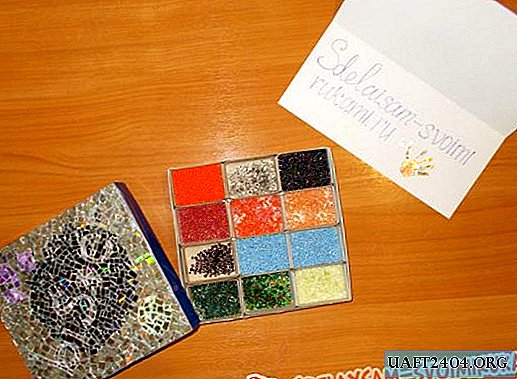
It can store a different assortment of beads:

Share
Pin
Tweet
Send
Share
Send

