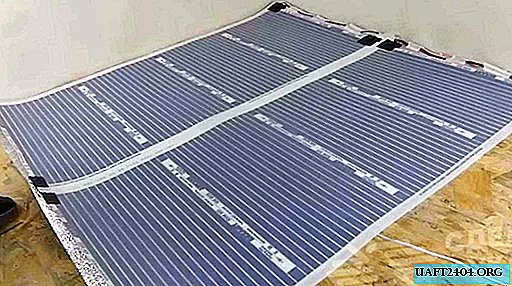
The infrared film floor consists of bitumen insulators, wires that are necessary for connecting parts, copper contact clamps, installation instructions, 1 mm thick films with an integrated heating system.
One set of film can cover an area of up to 5 square meters. The heating strips are made of carbon fiber, and the connecting element for the strips is the copper edging of the film.
When mounting under a film, it is necessary to put a substrate, it is also included in the kit. Cut the film in specially designated areas that are marked with light strips 3 cm wide.

The main stages of work
When the strips are cut, you can proceed with the installation of the system. First of all, connect the contact clamp. To do this, insert it into the copper strip and tightly clamp it with pliers. The clamp consists of two plates, one goes inside the strip, the other on top of it.

The wires are attached to the clamps, then the place of attachment is closed with a bitumen strip, as shown in the video on the site (see below). After this, the thermostat is connected, after all operations, they begin laying the floor on top of the thermal complex.

The floor may consist of several layers, but the smaller the thickness of the “cake”, the faster and better the floor will warm up.

As you can see, there is nothing complicated in self-connecting a film infrared floor system. Not only an experienced craftsman can cope with it, but also one who has never been associated with any type of repair.
For details on how to complete the installation of a film infrared floor heating at home with your own hands, see the video on the site.


